Capturing the Mood
- Matt Hayden

- Mar 14, 2022
- 3 min read

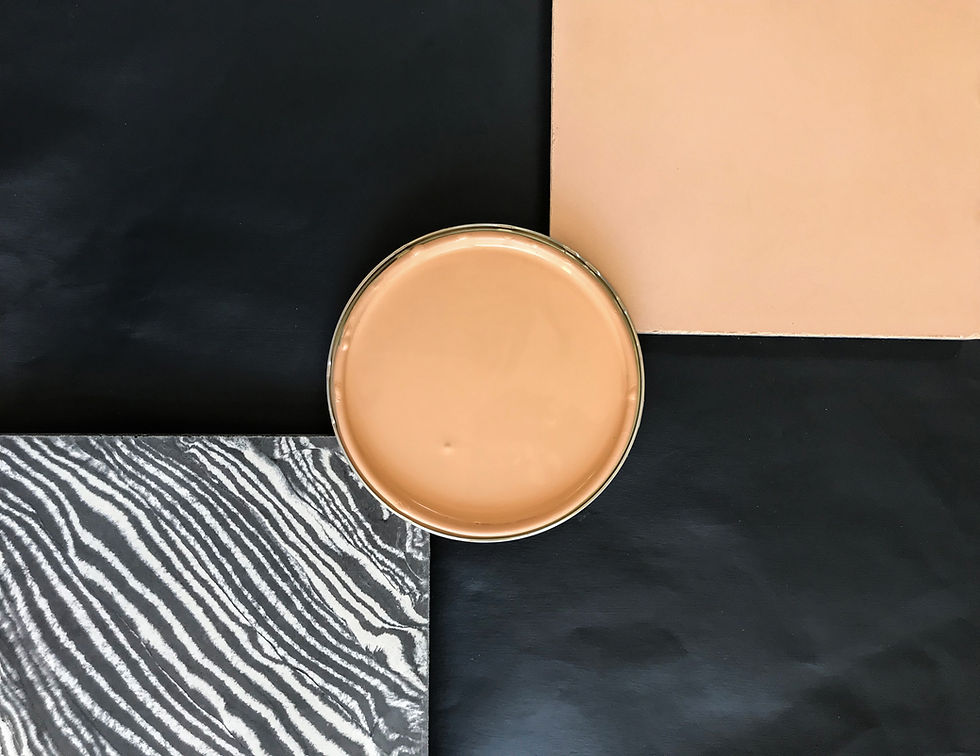
For some people, re-decorating during a moment of impulsive inspiration can be a great idea: throwing caution to the wind, trusting instincts, treating the walls like a canvas and painting with wild abandon. For others it can spell disaster: those who find themselves gasping the words, ‘What was I thinking?!’ or attempting to placate loved ones with, ‘It seemed like a good idea at the time.’ Waking, the morning after, to find the entire, multi-coloured set from Moulin Rouge replicated in the bedroom, last night’s wine-fuelled enthusiasm quickly turns to regret. We can, of course, learn from our mistakes but a good way to avoid making potentially costly, time-consuming blunders in the first place is to begin your design process by putting together a mood board. A mood board consists of a collection of colours, pictures and materials which provide the step from initial concept to experimentation, a miniature, visual and textural example of how a finished design might look and the atmosphere you want to capture within a space, hence the word ‘mood.’ The finished piece can often be a work of art in its own right, the beginning of a story about to unfold and a good record to hold on to.
I have been guilty of being too impatient for mood boards. At times, when the inspiration grabs me in my own home, I like to seize the opportunity before my brainwave fades and I forget half the design. Over time I have learnt the benefits of mood boards; now when an idea strikes, I jot it down on paper until I have a moment to record it properly because, although ideas are free, the reality of transferring them into a space is expensive and the finished design can be rather different from how it first looked in your head. For those who find it hard to visualise the end result, I recommend using mood boards to give yourself time to mull on themes, seeing which colours, patterns and textures work well together.

Everyone has their own way of working. Some people use computer programmes or apps to construct their ideas but I personally like to have the finished product in my hands so that I can see perfect colour accuracy and feel the quality and textures of the paint, tiles, wood or fabric etc. It is also useful to keep the samples around you in order to see the colours change with the light – keep on experimenting, adding or taking away anything that isn’t working. I like my boards to have an air of mystery to them; every room should have a bit of intrigue, something compelling to grab the eye. You may find it easier to make several mood boards, the first being initial ideas, photographs of inspiration and jottings describing the look and feel you want to create. Then you can narrow things down, choosing from paint charts and fabric books, tile samples and so on. If you haven’t got the samples to hand when the vision hits you, grab the next best thing. I often use magazine cuttings, books or album covers, pieces of jewellery or clothing that have just the right shade. Then I go hunting for the real thing.
Your final mood board should be as accurate as possible, with real samples (at least two coats if it’s paint!). It helps to arrange a board in relation to your room: a floor sample at the bottom then, working your way up, a paint sample covering a larger area in proportion to a curtain fabric or photograph of some furniture. Try to be patient; taking your time in the beginning will ensure a better end result. For those who err on the cautious side but yearn to be more daring, this is the ticket to a carefully considered, well-thought-through design. No more awkward justifications or humiliating reflections; present your accomplishments with pride!
Credits
Tiles: bertandmay.com
Fabric: shop.ninacampbell.com
Paint: farrow-ball.com and Zoffany at: stylelibrary.com
Published in the September 2018 edition of Bridport Times magazine: bridporttimes.co.uk


Comments